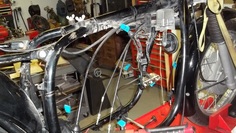
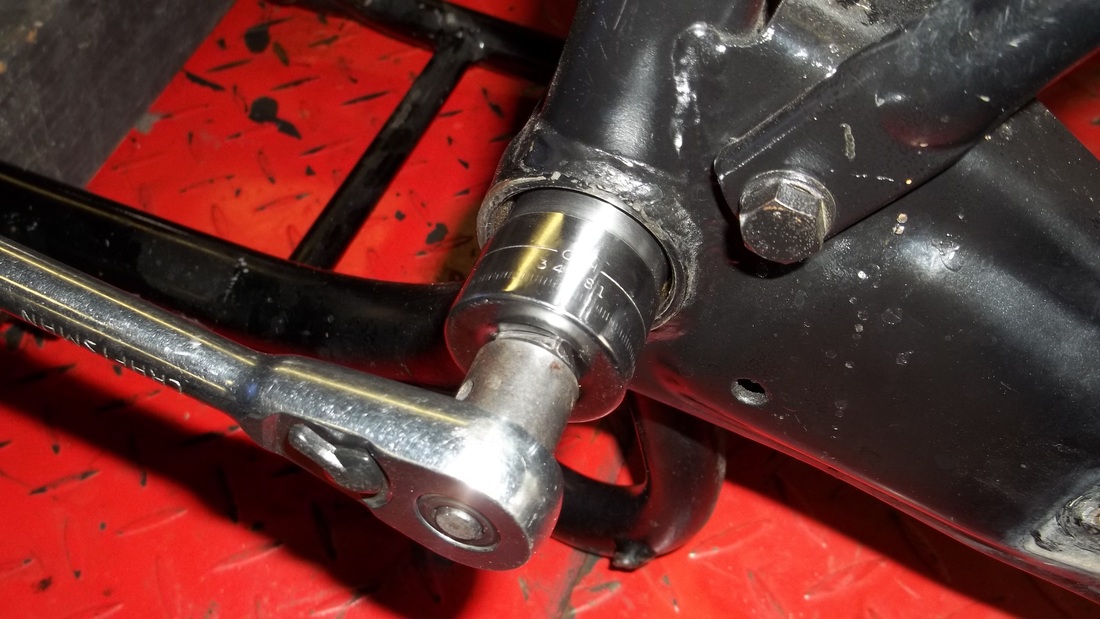
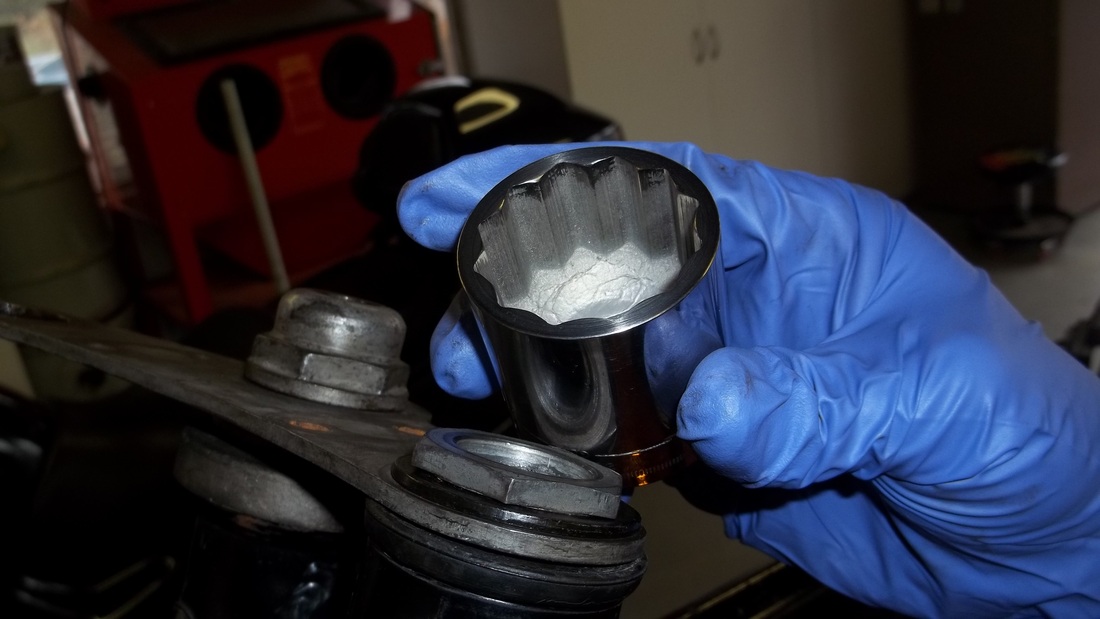
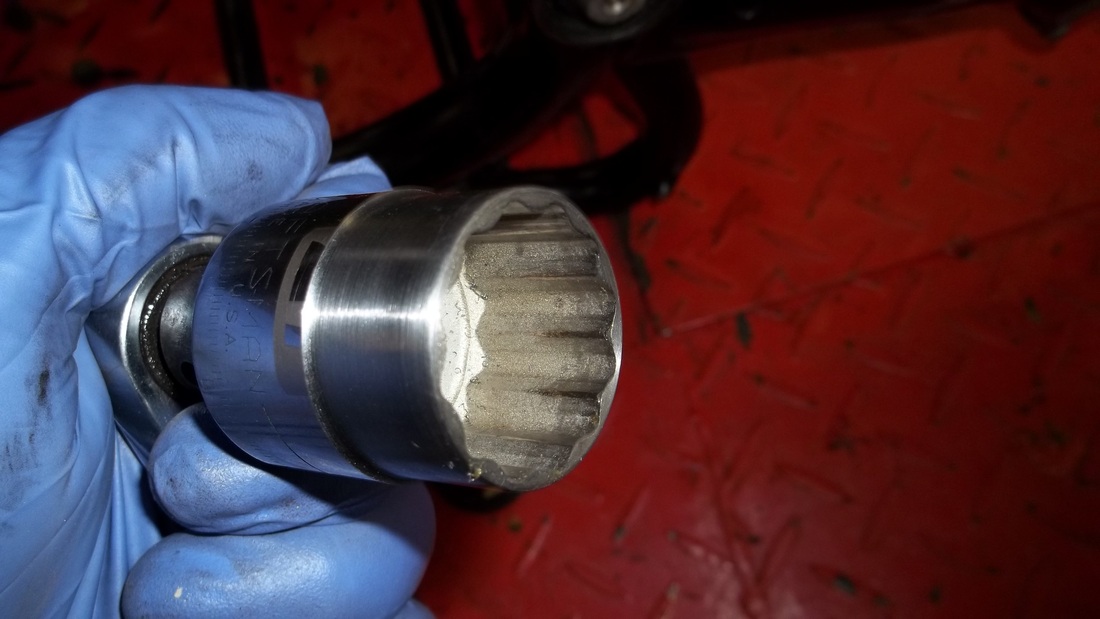
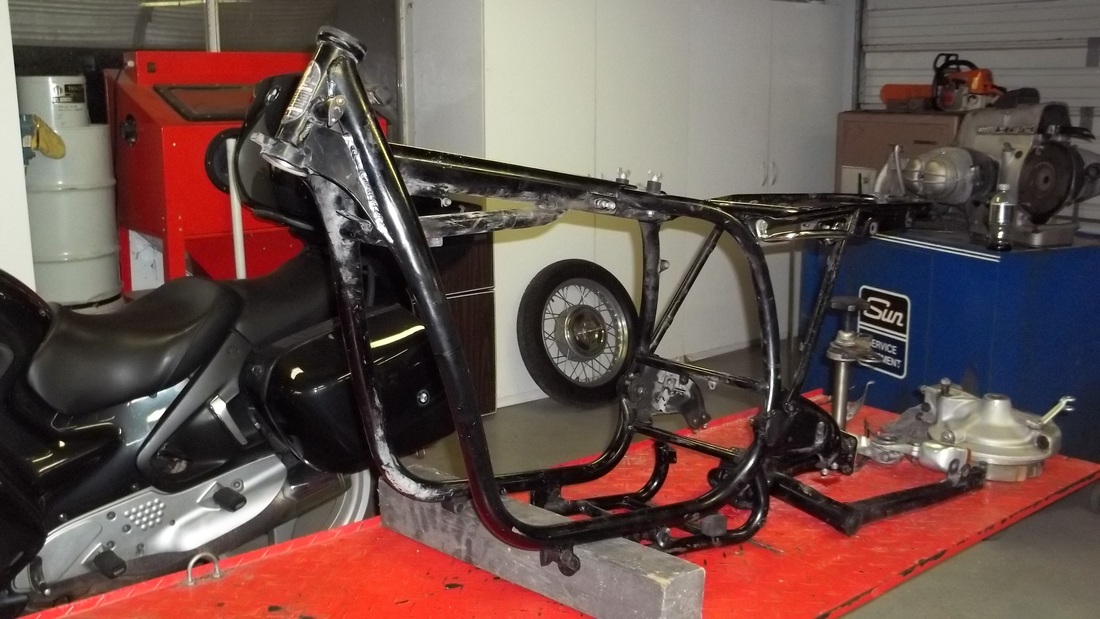
 Ok, so in the last blog, I had done an initial assessment of the R75/5 and removed several components and eventually the motor and transmission (see the previous blog: And so it begins). Now we continue to forge ahead and have much to tell. The most difficult and tedious aspect of a restoration, at least for me, is inventorying all the individual parts and documenting them as it comes apart. The most crucial of these being the wiring harness. Once again, I enlist my wife to give me a hand with this. She is very detail oriented and quite handy with a wrench. Besides, she has a way of livening up the shop as well! We began by taking several photos of the wiring harness and labeling each wire according to what component each goes to. Even when replacing the harness with a new one, it makes it a lot easier to lay the two side by side and have a quick reference to work with. The photos help aid in their routing and orientation on the frame. Now, you might be thinking that I could just follow the wiring diagram, and you would be right, but it is much more time consuming. First order of business is to disconnect numerous connections, ie; oil pressure sending unit, neutral safety, coils, alternator, starter, starter relay, diode board, voltage regulator, blinkers, brake lights, brake switches (front and rear), etc, etc….I chose to leave the wiring connected inside the headlamp bucket (for now), then pulled the wiring harness out of the frame. Again, a second set of hands here really helps! Now the wiring on this model is very straight forward, unlike newer models that have traction control, antilock brakes, engine management systems, etc…Those type of systems are not as forgiving and the slightest resistance can cause faults, especially computer grounds. These old systems however are very straightforward and a little time marking locations pays dividends in the long run. With the wiring completely removed, I turned my attention to the mechanical side of dismantling. Now for this, it again really helps to have assistance. My buddy Jarrett came by the shop and I immediately put him to work (thanks Jarrett). We removed the rear blinkers and tail light assembly, followed by the fender, shocks and rear wheel. As stated in my previous blogs, the components are taken apart as units, to be dismantled and rebuilt in future installments. With all the parts removed from the swing arm, I was able to feel the condition of the swing arm bearings. There was no play and they did not feel notchy, but we’ll obviously look closer at them on rebuild. Removal of the swing arm was straight forward, using my special 27mm socket that had its wall machined down. (available on my website) The hex nut, which locks the pivot pin in place, is in a recess of the frame on these old airheads. This prevents using a standard socket. Turning my attention to the front end, I removed the front wheel and fender, then turned the triple clamps left and right and felt the condition of those bearings. They felt stiff and notchy, indicating bearing wear. To remove the top nuts on the forks, I again used my special 36mm socket (available on my website) to keep from stripping them. If you have ever removed these before then you know how thin these nuts are. Stripping them is very easy without having a socket whose face has not been machined to better register / purchase on the nuts. Additionally, this is one of the few times I will actually use an air tool on a motorcycle! This facilitated the removal of the front shocks, but not without a fight. After releasing the pinch bolts in the triple clamps, Jarrett and I had to twist and turn the forks to free them from there saddles, while my wife held the frame steady. But, patience paid off and out they came. Lastly, we removed the steering stem nut and steering stem, exposing the bearings. The bearing race was scalloped and the bearings had signs of rust. They undoubtedly will be replaced with a fresh set after paint. The accompanying photos show its current state. All that is left to disassemble is the seat lock assembly and the rear sub-frame, which is held together by just 4 bolts. In the next blog, we’ll start getting into some more technical aspects of the build with related photos. I need to do some TIG welding on the frame and also bore and bush the center stand pivots, as well as the side stand pivot. There is no shortage of things to do and I will document them as we go. For me, the next couple of months are the best, in terms of the restoration. What I mean is that instead of disassembly, I get to renew, rebuild and restore. It is a form of therapy for me. Making something better then when I received it is a great reward. So check back and follow along as we continue to rebuild the R75/5 and give her a new lease on life! Special tools used: 27mm Swing arm Socket 36mm Fork Cap Socket (both available at http://www.ocdmachine.com/tools.html )
0 Comments
Your comment will be posted after it is approved.
Leave a Reply. |
AuthorJames Widenmann Archives
January 2015
Categories |
- WELCOME
-
Tools
-
Parts
-
BMW CLUTCH CABLES
>
- BMW CLUTCH CABLE /5/6/7 STANDARD BARS R90/R100 S/RS
- BMW CLUTCH CABLE /5/6/7 MODELS WITH HIGH BARS R80 / R100 RT/GS
- BMW CLUTCH CABLE K75, K75 C/S, K100, K100RS,
- BMW CLUTCH CABLE 1984-ON K75 C/T/RT/LT, K100 RT/LT, K1100RT/LT
- BMW CLUTCH CABLE R850R/RT 95-97, R1100R 94-00, R1100GS 94-06, R1100RT 94-01
- BMW CLUTCH CABLE R1100RS '92-'01
-
Gaskets
>
- F650 F650ST CLUTCH COVER GASKET
- F650 FUNDURO AND F650ST VALVE COVER GASKET
- F650,700,800 VALVE COVER GASKET SET
- BMW F650,F700,F800 CLUTCH COVER GASKET
- BMW F650GS, F650CS, G650GS & G650X VALVE CVR GASKET
- CLUTCH COVER GASKET, BMW F650 (Single Cyl) & G650
- BMW R-Series AIRHEAD VALVE COVER GASKET SET
- BMW R1200/R900 HEXHEAD VALVE COVER GASKET
- BMW OILHEAD VALVE COVER GASKET R850 R1100 R1150 R1200C
- BMW K75 MODELS VALVE COVER GASKET SET
- K1, K100, K1100 VALVE COVER GASKET
- K100 (8 valve) VALVE COVER GASKET SET
- SPARK PLUGS >
-
BMW CLUTCH CABLES
>
- Misc
- Blog
- Tech
- Contact Us
- Shipping and Returns
- About Us

 RSS Feed